S3 Static Website
In this part, we are going to host a static website in an S3 bucket. We will:
- Create an S3 Bucket
- Enable website hosting on the bucket
- Add a dns record to point to the bucket
Static Site Requirements
You can use any static site you want for this, it just has to be valid HTML and optionally css, javascript, images, and other assets.
If you wan't, you can use this qr code generator as your static site. Just download the dist.zip folder and unzip it. It contains the index.html file and other assets. Feel free to clone the react code and play around with the app if you like.
The end result will be something like this: https://qr-spa.apps.cloudcourse.dev/ A static site with no server or backend.
Setting up The Bucket
step 1:
step 2:
step 3:
step 4:
Show timestamps
00:00
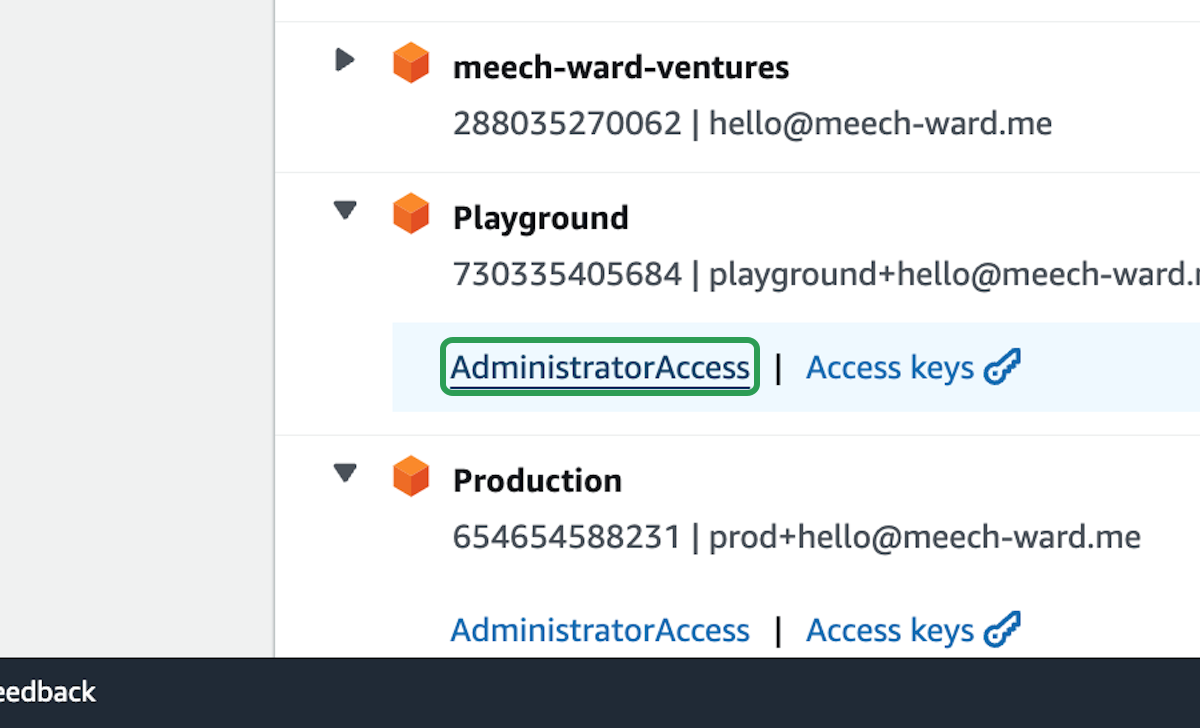
Let's set up an S3 bucket to host a static website. And we're gonna log in to the playground
00:05
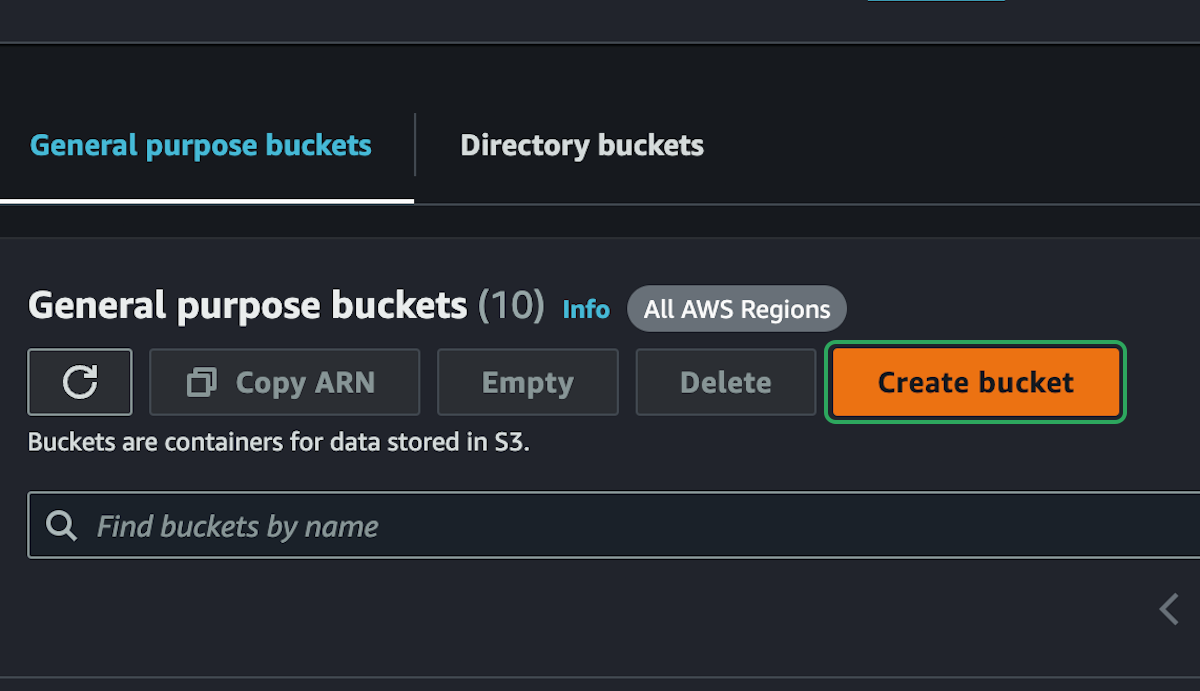
account head over to S3 and create a new bucket.
00:10
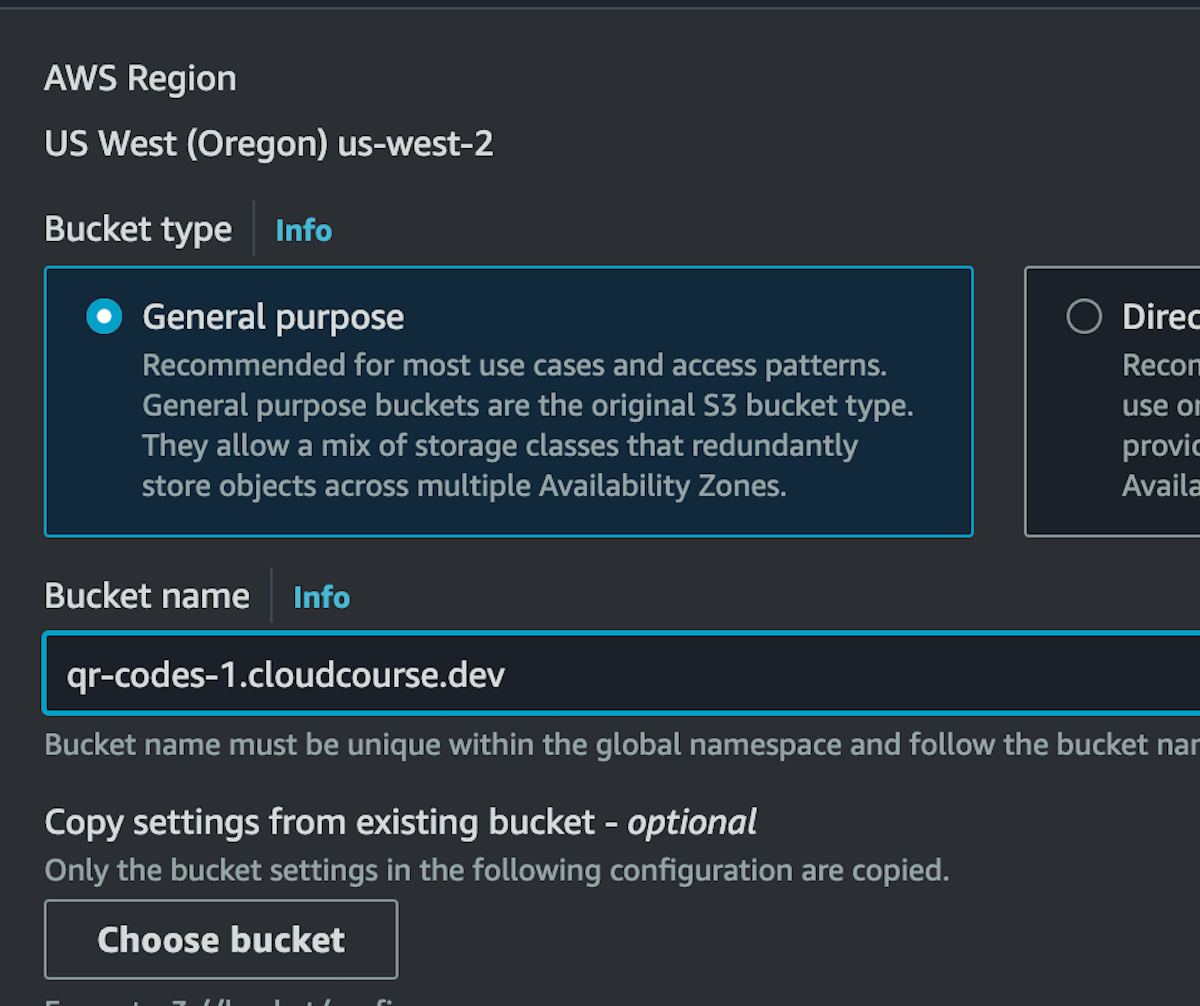
And the naming is super important. We're gonna leave this as a general purpose bucket. But because
00:14
this is gonna be a website, and remember we're just uploading static assets to S3, there's no
00:18
logic running. It's just gonna be a front end web app. But because we wanna host this as a
00:22
website we're gonna want a custom domain name. So this has to match the domain name that we have
00:27
in Route 53. So just as a refresher I'm gonna head over I'm gonna open this up in a new
00:33
tab just the Route 53 tab. In the playground account we have a hosted zone and it has
00:37
that play domain name in it. So I'm gonna copy this because if we wanna use Route 53
00:43
with this, if we wanna have our own domain name, then we must name the bucket a sub domain of that
00:47
domain name. So I'm gonna paste in play.cloudcourse.xyz and then I just have to put a
00:51
sub domain in here. It can be whatever I want. I'm gonna go staticsite1.play.cloud
00:57
course.xyz. So this part has to be what is in Route 53 and then any sub domain
01:02
name but whatever you want here just make sure it's unique and you don't reuse it for other
01:06
things that you do. So that's it for the bucket name. We'll leave the default settings for object
01:10
ownership. Usually the default settings are pretty good in AWS, they
01:13
allow the least amount of access to certain things. So this keeps it secure.
01:17
For block public access we're actually gonna turn this off because we want people to be able to
01:21
publicly access this as a website. They're not gonna mess with the files or mutate things but
01:27
they will be able to visit that URL and see the website
01:31
See the static assets from the S3 bucket served up as a website.
01:35
So I acknowledge that my current settings will make everything public but that's what I want
01:39
It's a public website that we're making. We don't need bucket versioning. You can have versioning
01:44
turned on where S3, every time you upload a new file it will keep that as a different version
01:48
So you could roll back pretty easily. I'm just gonna keep that disabled. I would
01:52
generally use git for versioning a website, but this can be handy for static assets where you
01:57
might have different versions of it. And then for tags I'm gonna leave that alone. Default
02:01
encryption. This will just have S3 encrypt the files at rest for us. So we can leave all
02:06
these default settings. We can leave the advanced settings alone and we are gonna create this S3
02:10
bucket. And now that that's been created we need to put in the static assets for our
02:15
website. So I've selected the bucket. We're in the objects tab and here we can upload the files
02:20
that we want to be served up as a website. So we need a static website for this. If you're in the
02:25
S3 static website part then there is this QR code generator static site. So if you download
02:32
this disk.zip folder this is just a static website that generates QR codes in the browser. So
02:38
we can use that. You can really use whatever you want but I'm gonna use that and you can use it
02:41
if you don't have your own website to host. So this is what's in the disc folder. It's an index
02:45
.html, a favicon and some assets.
02:48
And we don't wanna upload the entire disc directory here. What we want is just the website files
02:53
So it should be index.html and whatever other files are for your website. So I can just drag
02:58
and drop those into S3. It's now gonna show me that it's
03:01
uploading those files. Actually it's just showing me the files, I need to click upload.
03:06
One thing to note here is that files in S3 have a unique name and unique key.
03:11
There aren't actually folders even though S3 is hinting that there might be folders. It
03:15
is a flat file structure. So you can't ever come into S3 and search based on like a folder
03:21
name or something. It's not super important right now but it can be handy to remember that there
03:25
aren't folders. It's not a file system. It is a flat hierarchy.
03:29
So I'm gonna click upload to upload these files. There we go. So we have those four files there. So
03:35
we have a bucket. It has some objects in it. It's just storing those static assets.
03:39
Now if we want this to act as a website we go over to properties and scroll down until we see
03:45
static website hosting which is right here at the bottom. So I can edit this and we are gonna
03:51
enable static website hosting. So host a static website. The index document is index.html. And
03:57
this is a single page application. It's using React. So any request to any real endpoint for my
04:03
application should always redirect back to index.html because I'm gonna have JavaScript to
04:08
handle anything client side. So if it was an error page or a 404 or anything always
04:13
has to go back to index.html and the JavaScript on the client would handle that. But just by
04:16
making the index and error document index.html that is gonna handle that for us. So I can
04:21
save these changes. And now if I scroll back down to the bottom where we had the static website
04:25
hosting should be able to see the S3 URL. This isn't our custom domain name yet but it is
04:30
the S3 URL. So if I open that in my web browser it's not using HTTPS but that's fine. Let's
04:36
continue to the site. And we get a 403 forbidden because even though we've set it up
04:41
as a static site we've allowed public access to the bucket, AWS is always going to restrict
04:46
access to things as much as it possibly can. And this is gonna be a common theme throughout using AWS.
04:52
You might have to configure multiple things that say the same thing just
04:55
to allow something to get access or someone to get access.
04:58
And that is being overly secure but that can be really handy, but that does mean that we need to
05:03
configure a few more things. So if we go back over to the S3 bucket we need to scroll up to
05:08
the top and go to permissions now and we're gonna scroll down. We have not blocked public access
05:13
, but we have not added a policy. So this is the bucket policy area. We need to edit this and we
05:19
need to add a policy. And policies are basically these permissions and rules about what or who is
05:26
allowed to access certain things and how they're allowed to access it. So we're gonna add a new
05:30
policy statement to it. And this is all JSON. All the policies are JSON. And we could get an LLM
05:35
to write this policy for us or over in the right here we can filter through services and do this
05:40
a little bit manually. So let's say for S3 we want to allow GetObject because that's what
05:47
the browser is gonna do. It's gonna get the static assets, the objects from the bucket. That's all
05:51
it's gonna be allowed to do. Then we'll add a resource. So we're allowing GetObject on an object
05:57
being the resource type. The ARN is gonna be the bucket name. So we're allowing on what I called
06:04
staticsite1.play.cloudcourse.xyz and we're gonna
06:11
allow get on any objects. This is just a static site, all the files in there are fine to be gotten.
06:16
And then we don't need a condition. I just wanna make sure this is good. So we have the statement
06:20
one. That's just the ID. That's fine. Principal. Actually we're gonna change this to be *. So we're
06:25
saying anything, in this case gonna be a web browser but anything is allowed to get an
06:31
object from this bucket, any of the objects within that bucket. That's the star there. So that is
06:37
the permission rule here and we're gonna save these changes. So we're now allowing those
06:41
permissions but it's saying unexpected error invalid resource. So yeah I misspelled the name.
06:47
It's play.dot. Okay, yeah. Because that's the bucket name right here. It has to match that.
06:52
That's the bucket name. Okay that looks good. So now let's try saving changes again. Okay, so my
06:56
policy is now allowing those objects…to be retrieved. There we go. Okay so this is the static
07:03
website. Like I said it's just a React app. It allows you to create a QR code. So if I go cloud
07:08
course.devin here it's gonna create a QR code for that and we can play with this. It doesn't
07:11
really matter. But this website is working.
07:14
So I should even be able to go, yep I can click around and it does the navigation. That's fine. So
07:19
the website's working from the S3 bucket but the domain name kinda sucks. Because it's
07:23
one of the S3 domain names. So you'll see it's .s3-website-us-west-2.amazon
07:29
aws.com. That kinda sucks. That's not great. So we're gonna fix that. That's why we have
07:33
Route 53 set up so that we can have custom domain names. So we're gonna head back over
07:37
to Route 53 in the playground zone and I'm gonna click on this hosted zone here and
07:42
I am gonna create a new record for this S3 bucket. I'm actually gonna switch to the wizard
07:49
view for that. That was just up in the top right there. There's wizard view and there's quick
07:52
create. So I'm gonna go to wizard view because that can be a little bit easier when working
07:56
directly with some of these services. So we're gonna do simple routing. There's a lot of stuff you
07:59
can do in 53. We're gonna do a simple routing record right now. Then we'll go next define a simple record.
08:06
The subdomain I gotta get this right. So it was staticsite1. That's the subdomain.
08:11
Staticsite1.play.cloudcourse.xyz. This is gonna be an A record. Then we're
08:16
gonna type in S3. So this is an alias. That's what the wizard gives us.
08:21
Alias to an S3 website endpoint. So I can click that. Then I have to select the region. I
08:25
actually completely forgot I did all that talking about regions and then forgot with regions. So
08:30
I set this up in US West-2 and this is really important because my website is now being
08:34
accessed from Oregon. So if I were to try and get people in India to access this. That would be
08:40
such a huge difference just to access this static site. I'll talk more about that in the next section.
08:45
But I am in US West-2. That's super important. That is where the website currently exists.
08:50
So I'm gonna go back over here. We're gonna do US West-2.
08:54
For Oregon. And then right here it should only show me S3 buckets that have the same name
08:59
as that. That's why it's so important to name it that exact way. So this is the S3 website.
09:03
This is where I'm allowed to direct the traffic to and we can define that simple record and create the records.
09:08
So now this DNS record, staticsite1.play.cloudcourse.xyz should be
09:15
resolving to that S3 bucket. So let's see if I go there. Yep. It's still not using a
09:22
HTTPS connection. There's no TLS in bold. We'll get to that in the CloudFront section, but
09:27
there still is a static website in S3 with a custom domain name that is being served from
09:34
US West. And in order to get it working with TLS HTTPS and to not just restrict it to the
09:40
single region because right now like I said it's restricted to US West-2. That is a really long
09:44
time to travel across the world. To solve both of those problems, we'll end up actually using a
09:49
different service called CloudFront that's gonna be in the next section. But this is still a
09:53
really simple way of just setting up a static website using an S3 bucket. And one more thing
09:58
we can go back in here and we can actually test that we've done this correctly. So this is cloud
10:03
course run s3 static site. So if I enter this into terminal let's see if
10:10
we have done this correctly. So this is in the playground account and that is my static website.
10:16
And we have done this correctly. We have public read access, has the HTML file. We did the resource correctly.
10:22
Perfect. So that is a hundred percent. So we could see that it was working but this will verify
10:25
that we haven't opened the permissions up too much. We did it just the right amount. That is
10:30
one hundred percent. And there we go. Okay so we can now set up static websites on an S3 bucket. Let's go see how we can do it on CloudFront.