AWS CLI

The AWS web console is great for learning about services and setting a few things up here and there, but it not practical when we're doing real cloud computing. Eventually we need to automate everything with code.

In the future, we will learn how to use advanced tools like terraform and palumi to automate our infrastructure. But for now, we will just get started with the AWS CLI, which is the simplest way to interact with AWS using code.

Install the AWS CLI

step 1:

Follow the instructions on the AWS CLI Installation Guide to install the AWS CLI on your computer.

Once that's setup, you should be able to run the following command to confirm it's working:

aws --version

Setup AWS Config

step 2:

Run aws configure sso and follow the prompts.

  • session name: a name that will help you identify your aws organization, account-name-sso
  • start URL: the custom url you setup in the previous section, https://my-aws-demo.awsapps.com/start
  • region: any region is fine, I use us-east-1 because it's closest to me
  • scopes: just use the defaultsso:account:access

After you hit enter, you should see something like this in your terminal:

aws configure sso
SSO session name (Recommended): test-account-sso
SSO start URL [None]: https://my-aws-demo.awsapps.com/start
SSO region [None]: us-east-1
SSO registration scopes [sso:account:access]:
Attempting to automatically open the SSO authorization page in your default browser.
If the browser does not open or you wish to use a different device to authorize this request, open the following URL:
https://device.sso.us-east-1.amazonaws.com/
Then enter the code:
XXXJ-LWPQ

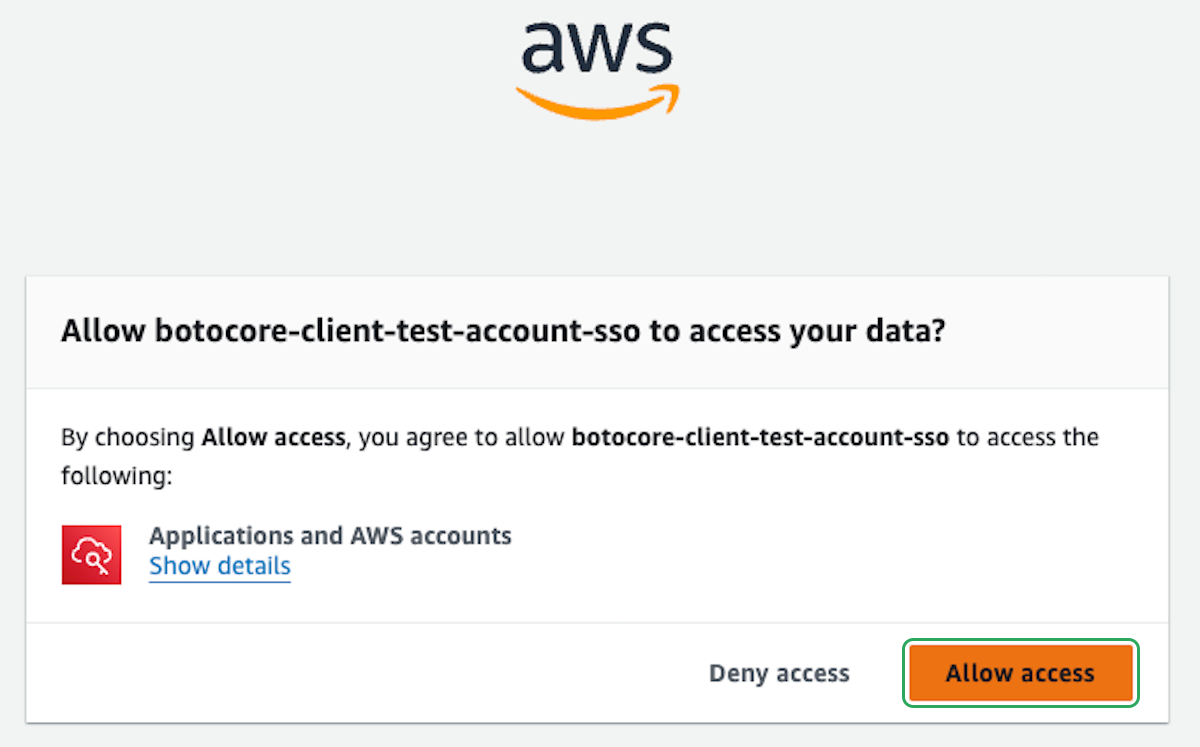
And you should be prompted to login with your browser.

step 3:

Click on Allow access

Click on Allow access

When that is successful, you should see something like this in your terminal:

There are 4 AWS accounts available to you.
Development, development+my-aws-account@meech-ward.me (677276083783)
> my-aws-account, my-aws-account@meech-ward.me (122610519465)
Production, production+my-aws-account@meech-ward.me (221082184448)
Playground, playground+my-aws-account@meech-ward.me (329599621562)

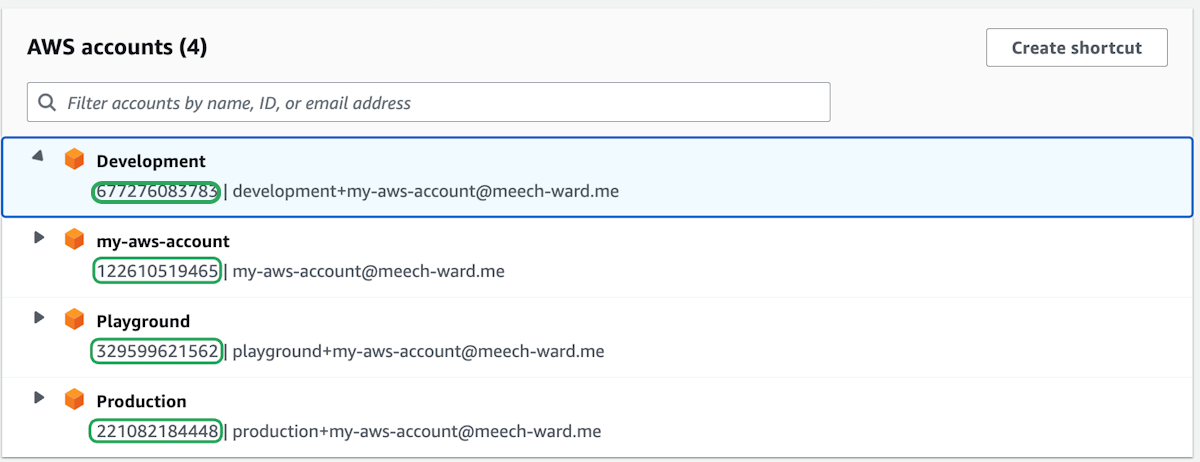
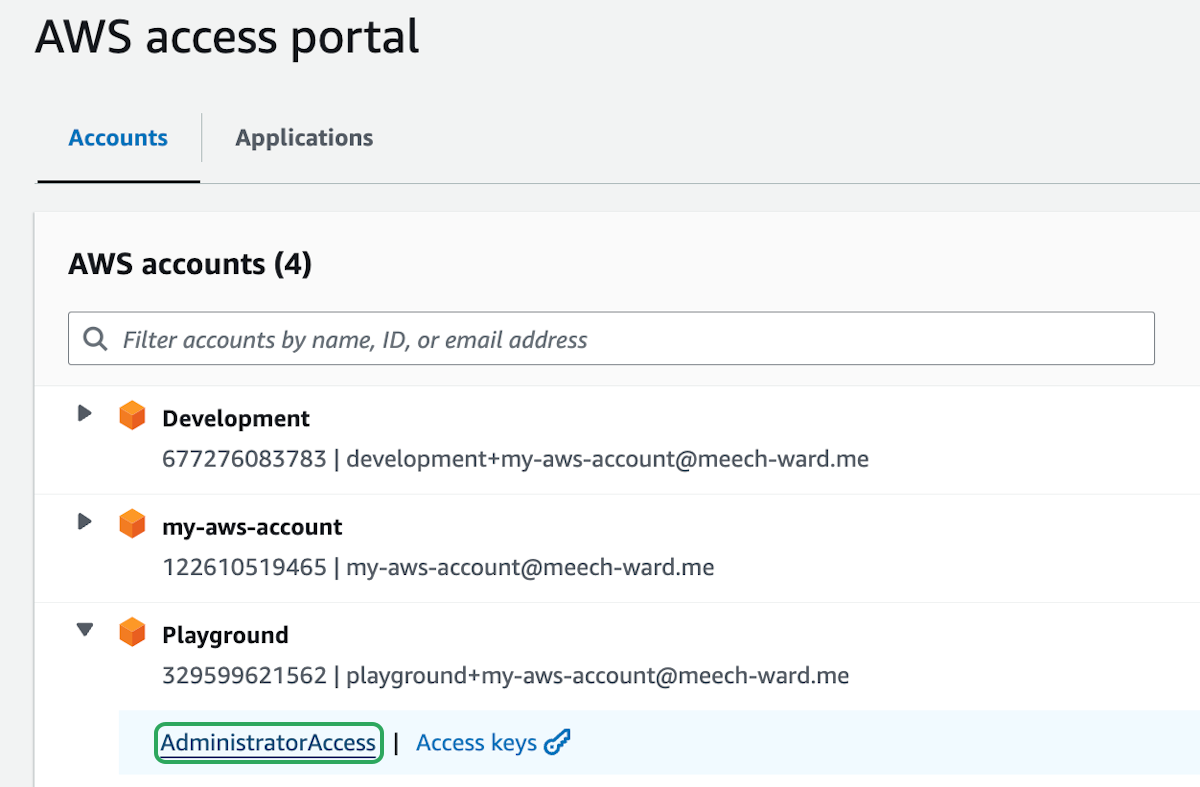
It shows all four accounts that were setup, but only one of them can be selected at a time.

step 4:

Select the management account and press enter.

Follow the prompts to setup your CLI profile.

  • CLI default client Region: use the same region that you used before
  • CLI default output format: json is good
  • CLI profile name: this is for the management account, so make it easy to identify that
Using the account ID 122610519465
The only role available to you is: AdministratorAccess
Using the role name "AdministratorAccess"
CLI default client Region [us-east-1]: us-east-1
CLI default output format [json]:
CLI profile name [AdministratorAccess-122610519465]: sam-management
To use this profile, specify the profile name using --profile, as shown:
aws s3 ls --profile sam-management

The management account is now setup and ready to be used with the AWS CLI. Now we just need to do the exact same thing for the other three accounts. Or we can just copy and paste the profile we just created and change a few things.

step 5:

In a code editor, open the file ~/.aws/config.

It should look something like this:

[profile sam-management]
sso_session = test-account-sso
sso_account_id = 122610519465
sso_role_name = AdministratorAccess
region = us-east-1
output = json
[sso-session test-account-sso]
sso_start_url = https://my-aws-demo.awsapps.com/start
sso_region = us-east-1
sso_registration_scopes = sso:account:access

Where the sso-session represents the SSO login for the entire AWS organization, and the profile represents one of the four AWS accounts.

So you will need four [profile ...] blocks, one for each account. But you will only need one [sso-session ...] block, which is the same for all accounts. Do not create any more [sso-session ...] blocks.

step 6:

Copy the profile we just created and paste it into the file three times, once for each account.

  • Change the profile name to match the account name
  • Change the sso_account_id to the account id of the account you are configuring
  • The other fields can stay the same
[profile sam-production]
sso_session = test-account-sso
sso_account_id = 221082184448
...
[profile sam-development]
sso_session = test-account-sso
sso_account_id = 677276083783
...
[profile sam-playground]
sso_session = test-account-sso
sso_account_id = 329599621562
...

To find the account ids, you can enter your AWS URL in the browser. Each account has the id right below it.

Or you can use the AWS CLI and run the following command:

aws organizations list-accounts --profile management-profile

Make sure to use your management profile name.

Test Everything is Working

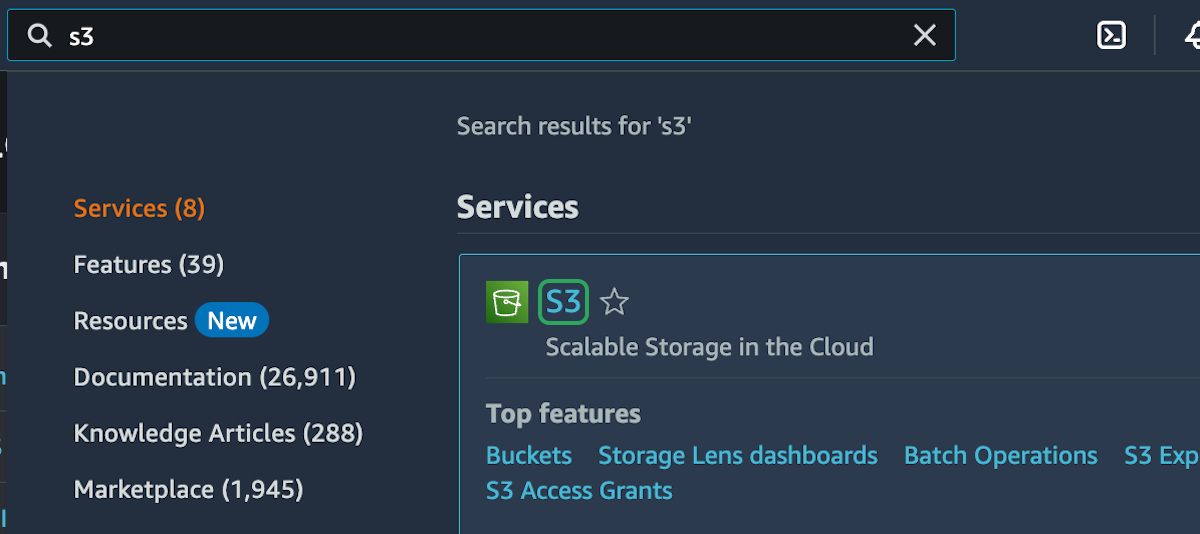
Let's quickly setup and teardown an S3 bucket, just to check everything is setup correctly.

step 7:

Go to your organization URL and select AdministratorAccess under the Playground account.

Go to your organization URL and select **AdministratorAccess** under the **Playground** account.
step 8:

Navigate to the S3 dashboard

Navigate to the S3 dashboard
step 9:

Click on Create bucket

Click on Create bucket
step 10:

Give the bucket a globally unique name and leave all the other settings alone

Give the bucket a globally unique name and leave all the other settings alone
step 11:

Click on Create bucket

Click on Create bucket

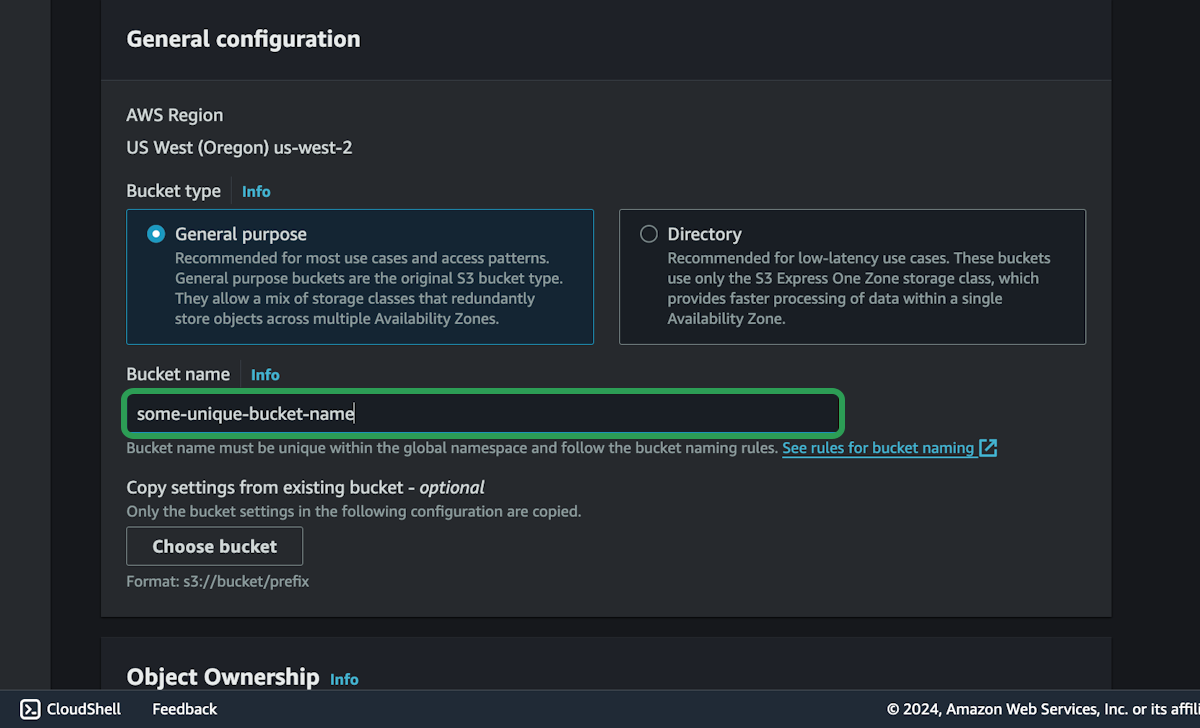
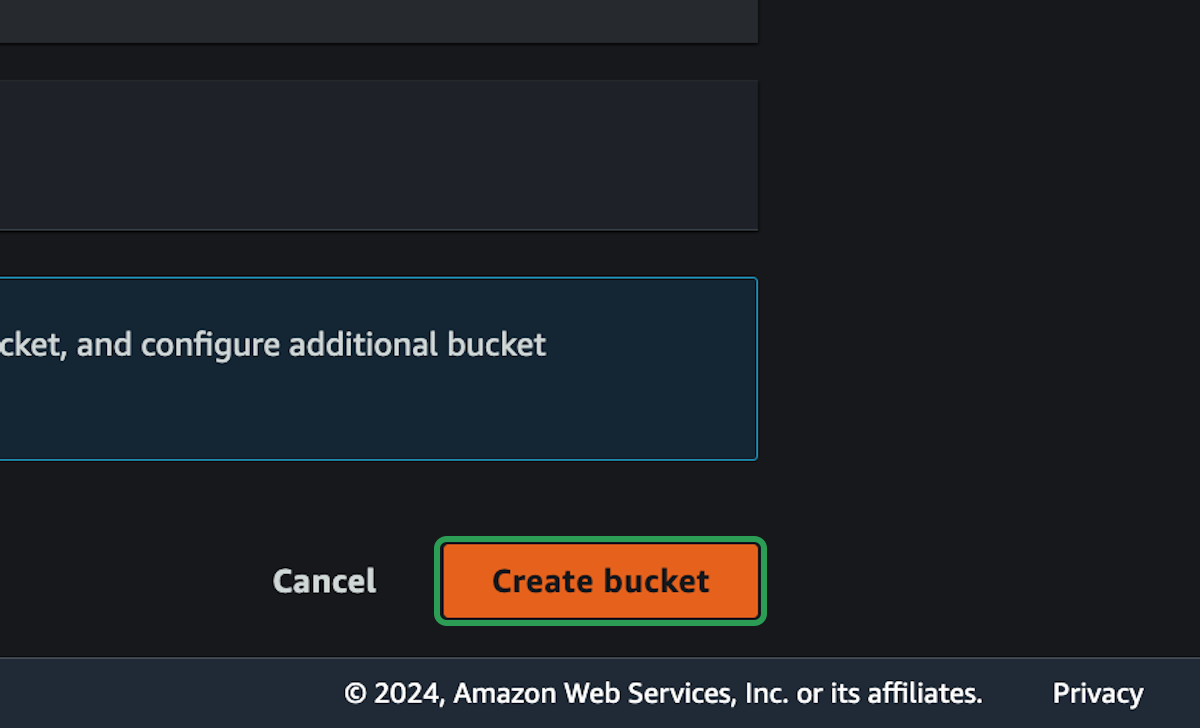
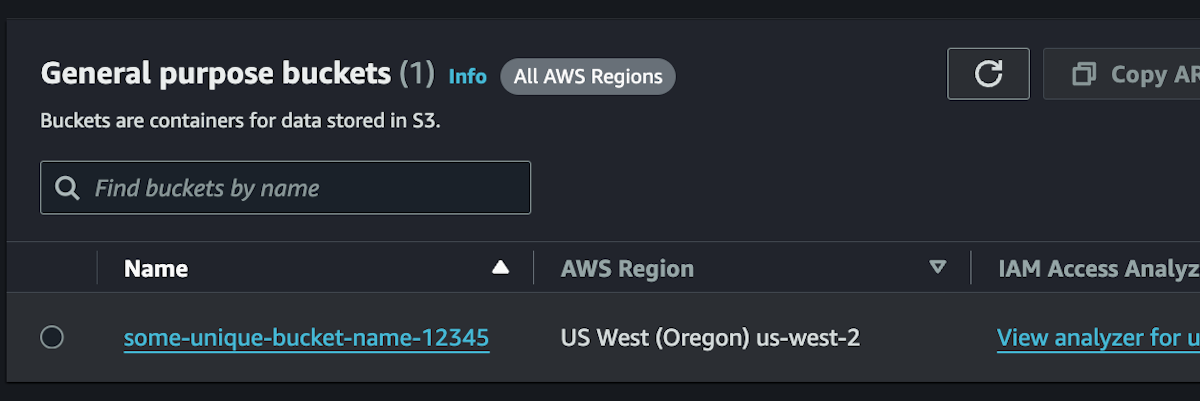
You should now see a single bucket created. You will need the bucket name and the bucket region to delete if from the cli.

To use the cli to delete the bucket, we need to first login to the playground account.

step 12:

Run the following command to login to the playground account.

Then follow the prompts in the browser.

aws sso login --profile your-playground-profile
step 13:

Run the following command to delete the S3 bucket from the CLI.

aws s3 rb s3://some-unique-bucket-name-12345 --profile your-playground-profile --region us-east-1

Refresh the page in the browser and you should see that the bucket has been deleted.

At this point, you are able to manage AWS infrastructure from the web or from the CLI. Now we're ready to start learning about how to use AWS.

Show timestamps
00:00
We have our account set up and we can log in through the web browser to view and configure all of
00:04
our infrastructure here, but we really need to be able to access AWS from the terminal as well,
00:09
using the AWS CLI. That way, we can interact with our infrastructure through code instead of
00:13
just clicking buttons in the web console. So I'm just gonna Google "install AWS CLI,"
00:19
and this first result should be the instructions we
00:22
need, since you'll have different steps depending on whether you're on Linux, Mac, or Windows.
00:27
So I'm on macOS, and if I scroll down here, there's a command line installer for all users. I
00:33
could just copy and paste this into my terminal. I already have the AWS
00:37
CLI set up, so this probably won't actually do anything for me.
00:41
But once it's done, after you have the CLI installed on whatever
00:45
OS you're using, you should be able to type "aws"
00:50
and run "--version" to see that the AWS CLI is actually installed on your system. So I'm currently
00:55
running AWS CLI version 2.27.7. We can use the AWS CLI to
01:00
interact with AWS. For example, I could try to
01:05
list all of the regions that I have access to in my account.
01:09
Just by using the CLI. But it's going to immediately tell me that I'm not logged in—I need to provide access credentials.
01:15
So right now, we need to set up AWS so we can log in through the CLI using the account
01:20
we just made. To do that, we're going to type "aws configure sso". This allows us to
01:27
log in with the user we just created. For the session name, I'm going to call this "cloud
01:32
course sam". The start URL—that's the URL we set up earlier. Remember, this is a really
01:37
important URL. So I just pasted mine in there: cloudcourse.awsapps.com/start. The
01:43
region—I chose us-west-2 earlier for Oregon, so I'll use that again here.
01:49
For the scopes, we can just leave that blank. And it just opened up my web browser now, so
01:55
it's asking me to allow access for the CLI, which I'll do there.
01:59
And now I get to choose which account I want to access.
02:02
I'm going to start with the management account here, just select this one, and then
02:07
we'll set up the other ones in a little bit. And I'll keep using the same region—so us-
02:11
west-2. The default output format doesn't matter too much. I think JSON is usually a pretty good
02:17
default. The profile name—so we're going to give a different name to each of our different accounts
02:22
that we can log into. Since this is management, I'm going to call it "cloud course management"
02:28
and then for my other ones—production, development, playground—I would just name them
02:32
similarly, like "cloud course playground", "cloud course production", "development". That'll make it
02:36
really easy to see which account and which profile I'm using. So now it's
02:40
saying I can test this out by running "aws sts get-caller-identity". So this
02:46
is giving me account and user information. And we can see here that I specify the profile, so
02:50
anytime I want to do something with my AWS account from the CLI, all I have to do is specify
02:54
the profile. Right now I'm using the management one, but in the future, I'll
02:58
have my production, playground, and development ones as well.
03:01
So I can distinguish between them just by adding the "--profile" flag. And we can go
03:05
through this process three more times for our three separate accounts.
03:09
It's actually easier to just modify the configuration file directly.
03:12
So if we open that up—on my Mac, it's in the home directory, .aws/
03:18
config, I think. So this is my configuration file.
03:24
And here we can see the SSO session. This is how I can log in to my account from the terminal.
03:30
And then here is one of the profiles. I'm just going to give that some space here, so this is
03:34
my management profile. We only need one SSO block, because we have a single login, and that user can log
03:40
in to access all those different accounts. So it's the same with this config file—we only need
03:44
one of these SSO blocks. If I log in to management, I can immediately access playground or the
03:48
other accounts, but we do need a different profile block for each account.
03:53
So if I copy this a few times, I have my management account, I'm going to have production. You can
03:59
name these whatever you want. I'm just going to name them exactly what I named them in the AWS
04:03
console. So I have production, playground, and development. Then the only other
04:09
thing we need to modify here—because the SSO session is the same,
04:13
the role is the same, region, output—they can all be the same. The only thing we need to change
04:17
is the account ID. So if we go back to our AWS account—I think it was over here, yep. So
04:24
if we go back to that root login at cloudcourse.awsapps in my case, and we look at
04:30
these accounts, the easiest way to see the ID is just this number next to the account name.
04:35
For my management account, that's just cloudcourse, and I already have that ID in
04:39
there. So the next one I'm going to copy is development, that's this number. I can copy that,
04:44
then go back to my config file—I'm actually going to put them side by side.
04:48
And for development—where did I put development?—I'm just going to paste that number in for the SSO
04:52
account ID. Then I can do the same for playground—I'll copy that and then for playground,
04:59
paste that in here. And then for production, do the exact same thing. So these are
05:04
all pretty much the same, except the account IDs are different and I've given them different
05:08
names. Now, I should be able to close this and start accessing
05:13
things. Let's see if I can describe regions… for my profile.
05:20
Let's go with "cloud course playground" and just see which regions I have access to in my playground account.
05:26
And I'm already logged in—it's already verified me from when we did the configure SSO earlier. So
05:32
because I already have that SSO login, I can immediately see all the regions I have access to in my account.
05:38
And I could do the same for my management or production accounts. It's all going to be the
05:43
same right now, since I haven't configured them differently.
05:46
But this just proves that I can access AWS from the CLI, which is super important. I'm not going to go
05:51
into too much detail here, but I want to show you a quick demo of how you might interact with
05:56
these. So if I go into my playground account, I could potentially set up some
06:01
infrastructure. I'll just set up a quick S3 bucket to show you how this
06:05
works. So if I were in the AWS console and went to S3, and tried to list the
06:11
buckets for cloud course playground, I should get an empty list right now, since I have zero S3
06:17
buckets set up. I could create a bucket from the CLI, but
06:22
I'm just going to show you that I can create this from the web console. I'll give it a
06:27
unique name and create it—I'm only creating
06:30
it just to demonstrate that we can create stuff and see it on both sides.
06:33
So now I have this new bucket in my playground account. If I were to list all the buckets in my
06:39
playground account, there is the bucket I just created.
06:42
And I should still have no buckets in my production account or the other accounts, so we can see
06:47
I can interact on both sides. I should also be able to use S3 to remove the bucket from
06:54
my playground account. I just need the bucket name here, so I'll copy that name—I should have
07:01
copied it from up here, I already had the name. So now I'm going to try
07:05
removing the bucket from the AWS CLI—that removed successfully. So I should be able to
07:11
refresh here and see that I have no buckets in my playground account. So we can
07:15
interact with AWS both from the CLI,
07:18
and from the web console. This is going to be important for the rest of the course.