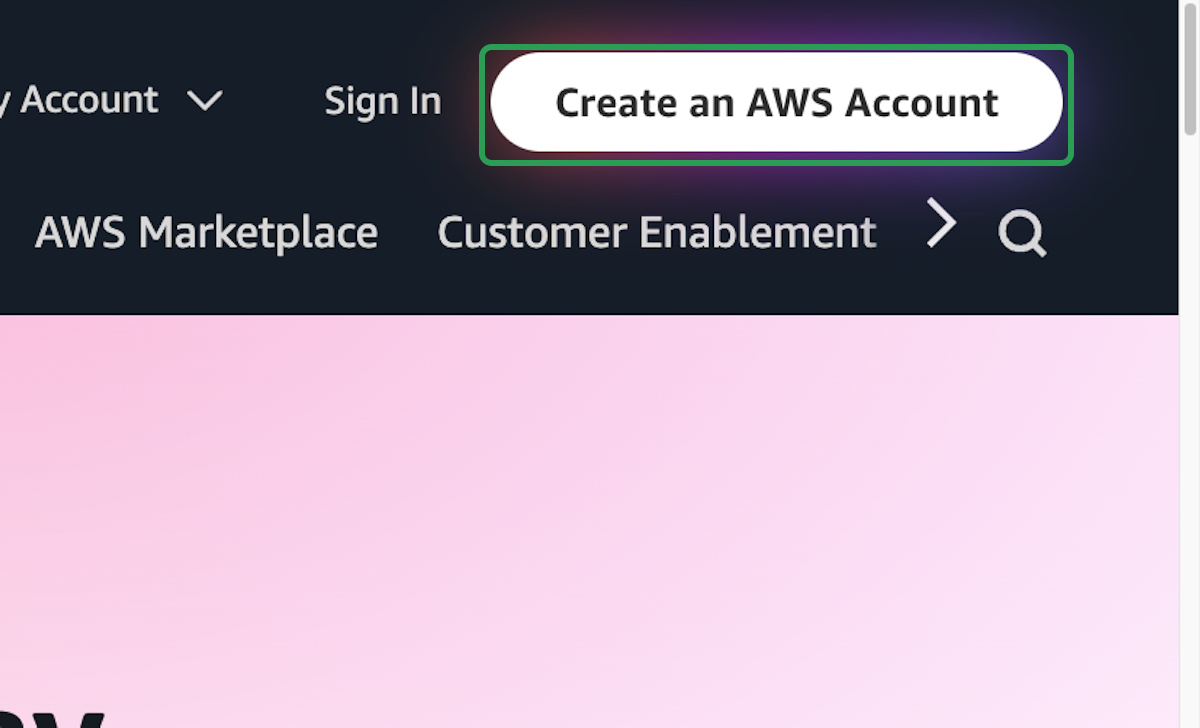
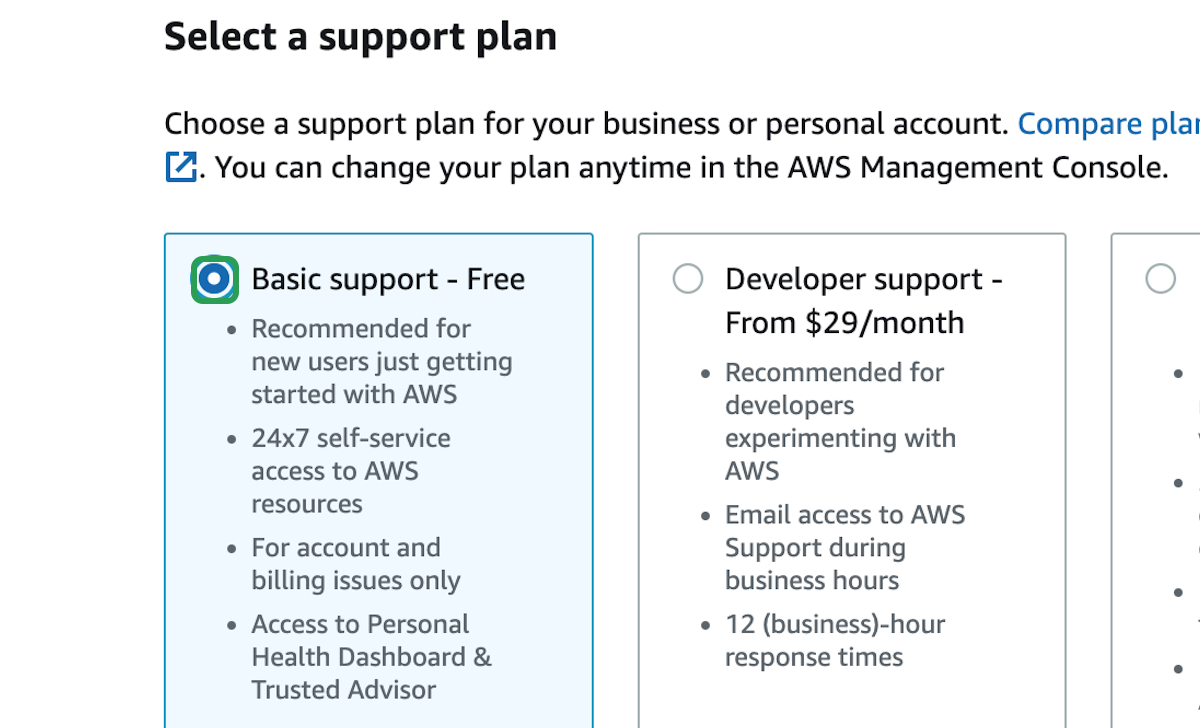
Create Your Account

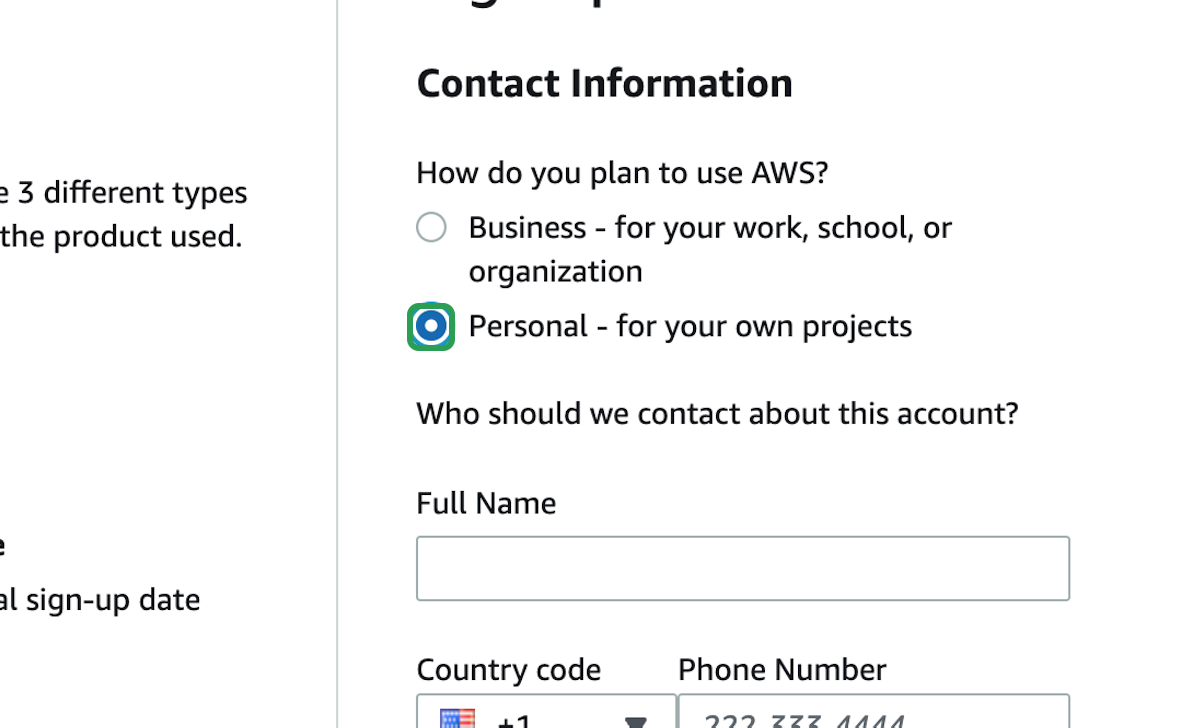
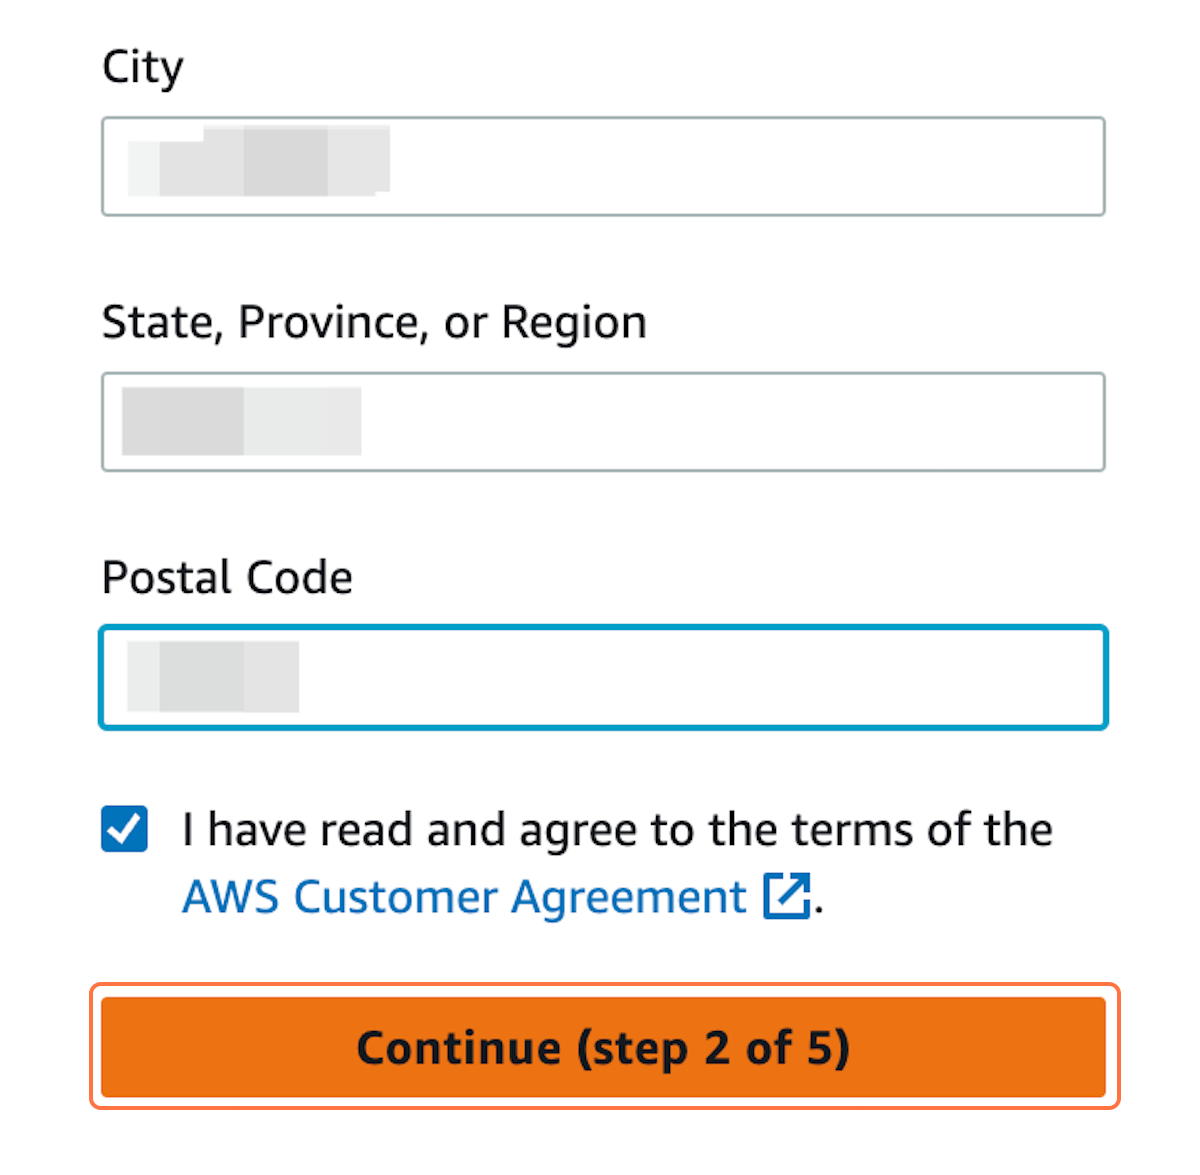
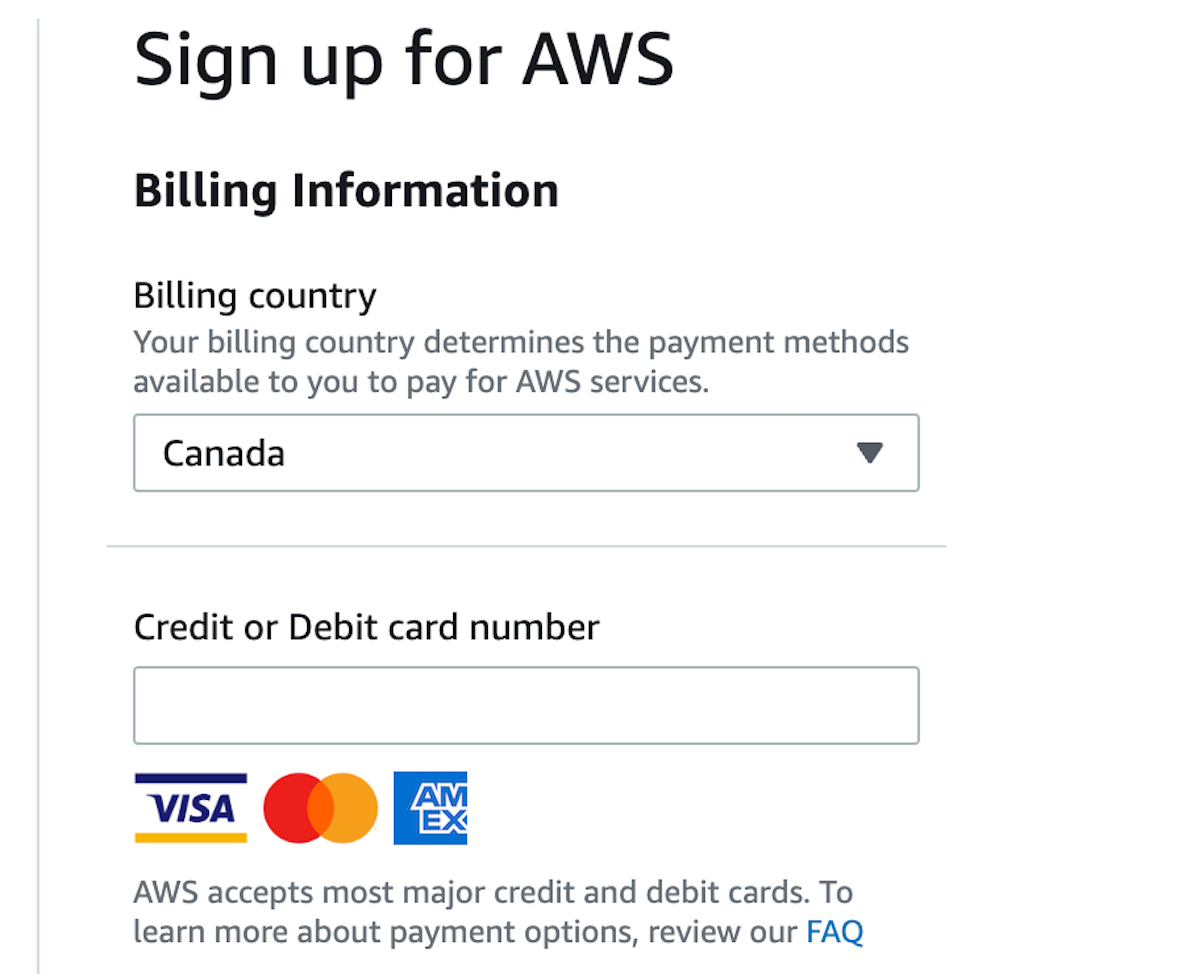
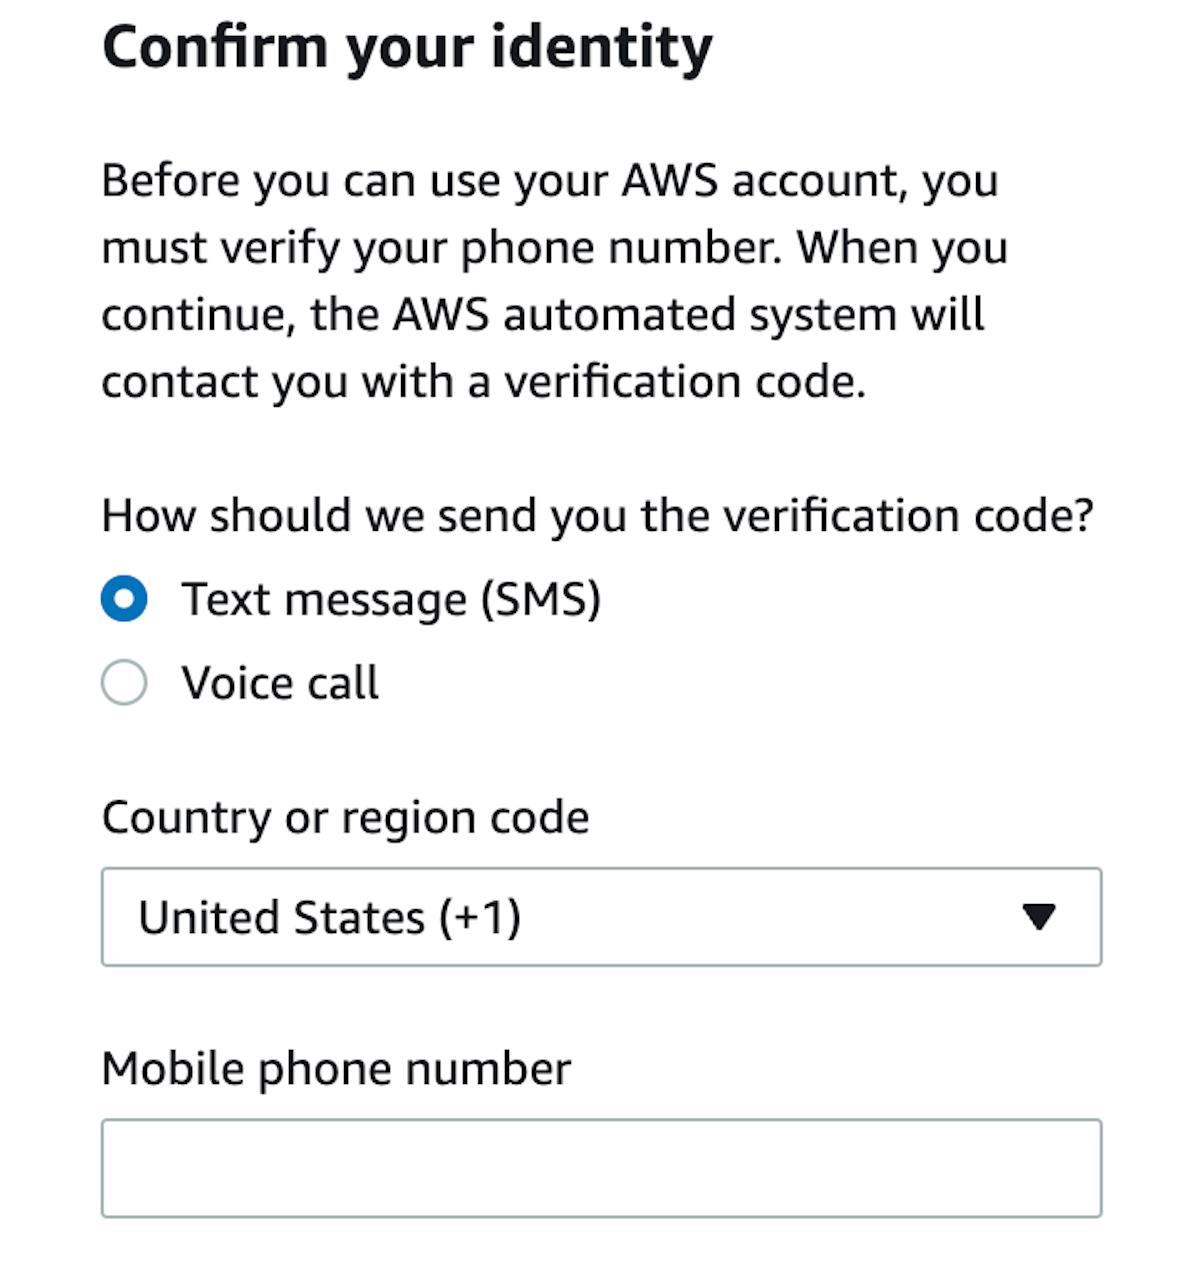
The first thing you need to do before you can start using AWS is to create an AWS account. You will need a credit card and cell phone number to complete this.

step 1:

Go to aws.com and click on Create an AWS Account

Click Create an AWS Account on the aws.com homepage
step 2:

Enter your email address and create an account name for your account

Enter your email address and account name
step 3:

Create a good password and Click on Continue (step 1 of 5)

Create a secure password and click Continue

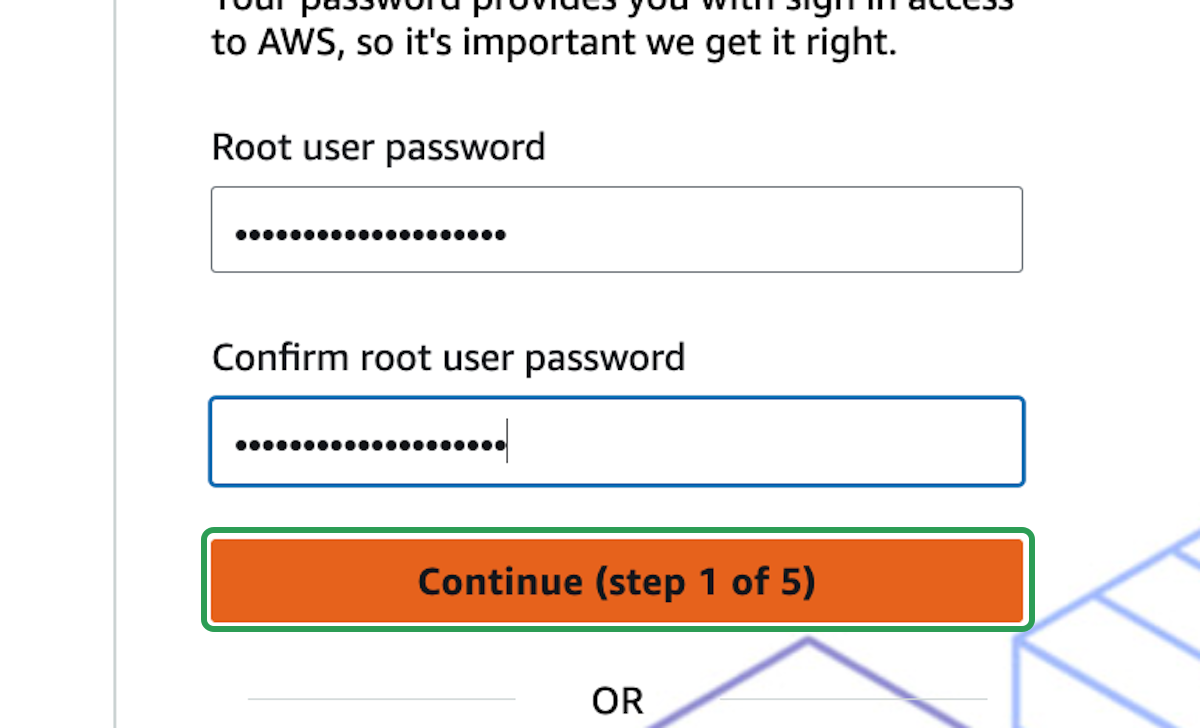
This is the root account password that you won't really use much but MUST be as secure as possible. This password allows anyone to completely control your account.

Make sure you're using a password manager so it can be secure and so you don't lose it.
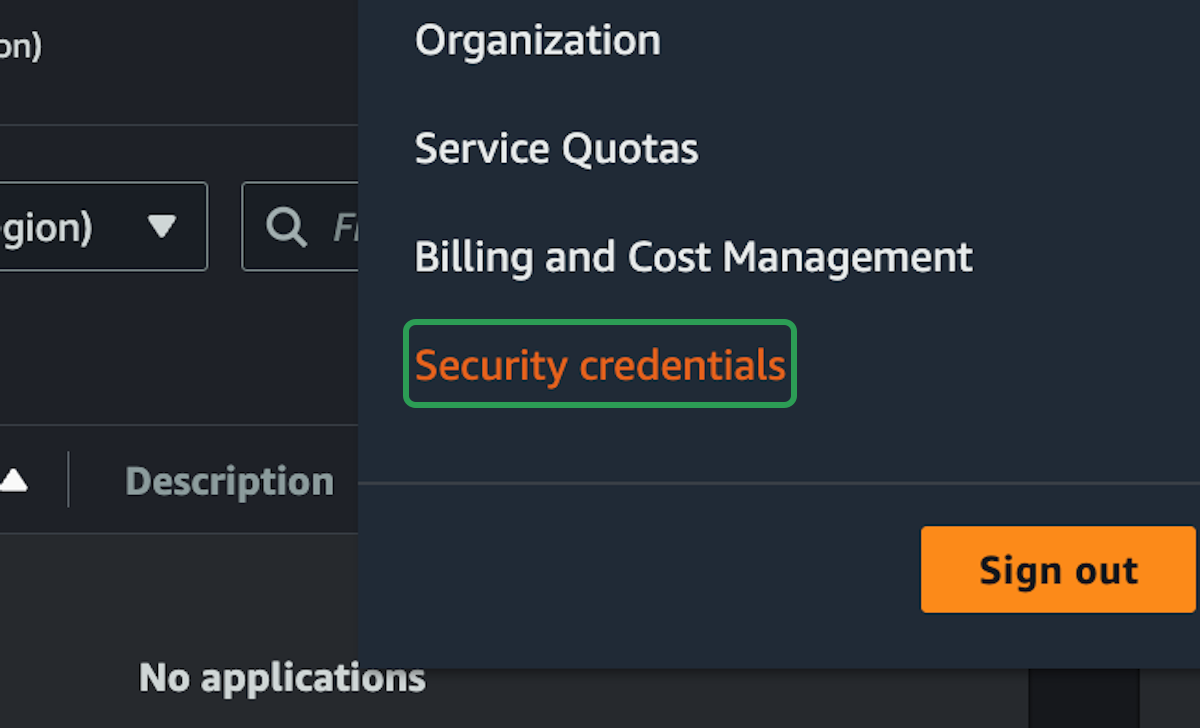
step 4:

Select Personal - for your own projects

Select Personal for your account type
step 5:

Fill out all your personal details, continue to step 2 of 5

Fill out your personal details and continue
step 6:

Fill out your billing information and continue to step 3 of 5

Enter your billing information and continue
step 7:

Confirm your identity. You'll need an active phone number for this

Verify your identity using your phone number
step 8:

Select the Basic support - Free plan

Select the Basic support plan
step 9:

Click on Complete sign up

Click Complete sign up to finish account creation
step 10:

You're all done. Click on Go to the AWS Management Console

Click Go to the AWS Management Console

2 Factor Auth

The email and password you just setup will log you in as the root user to your account. This means you're able to do absolutely anything to your account including closing it.

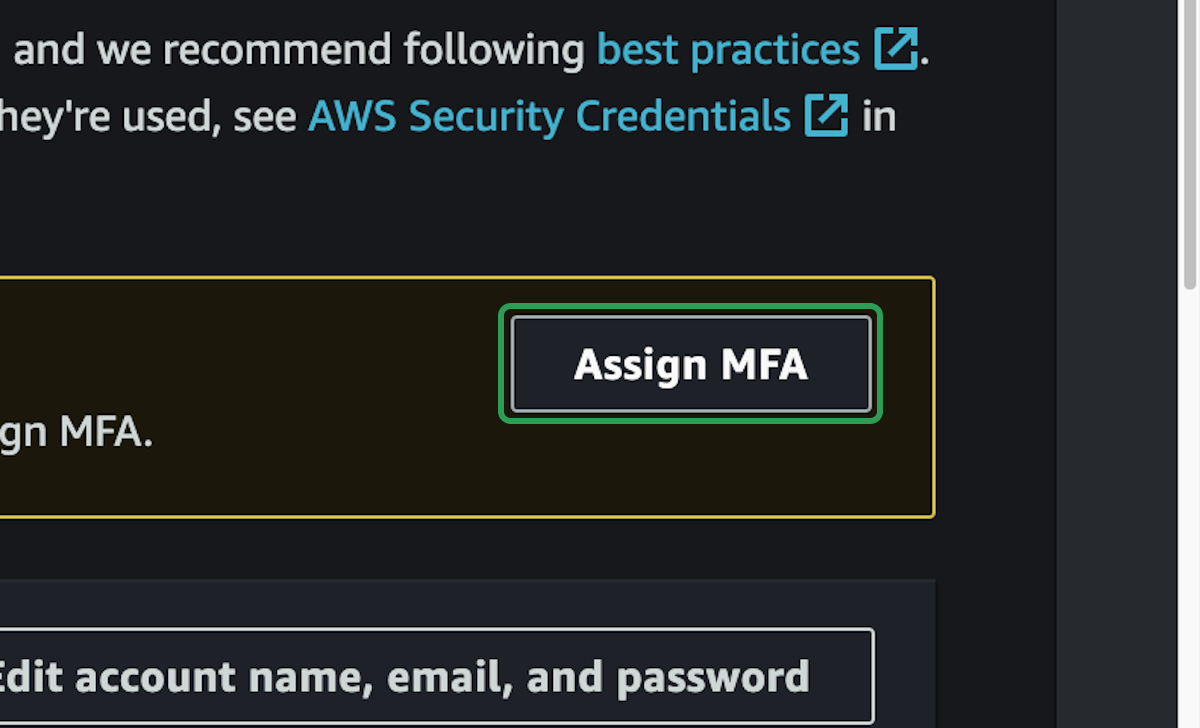
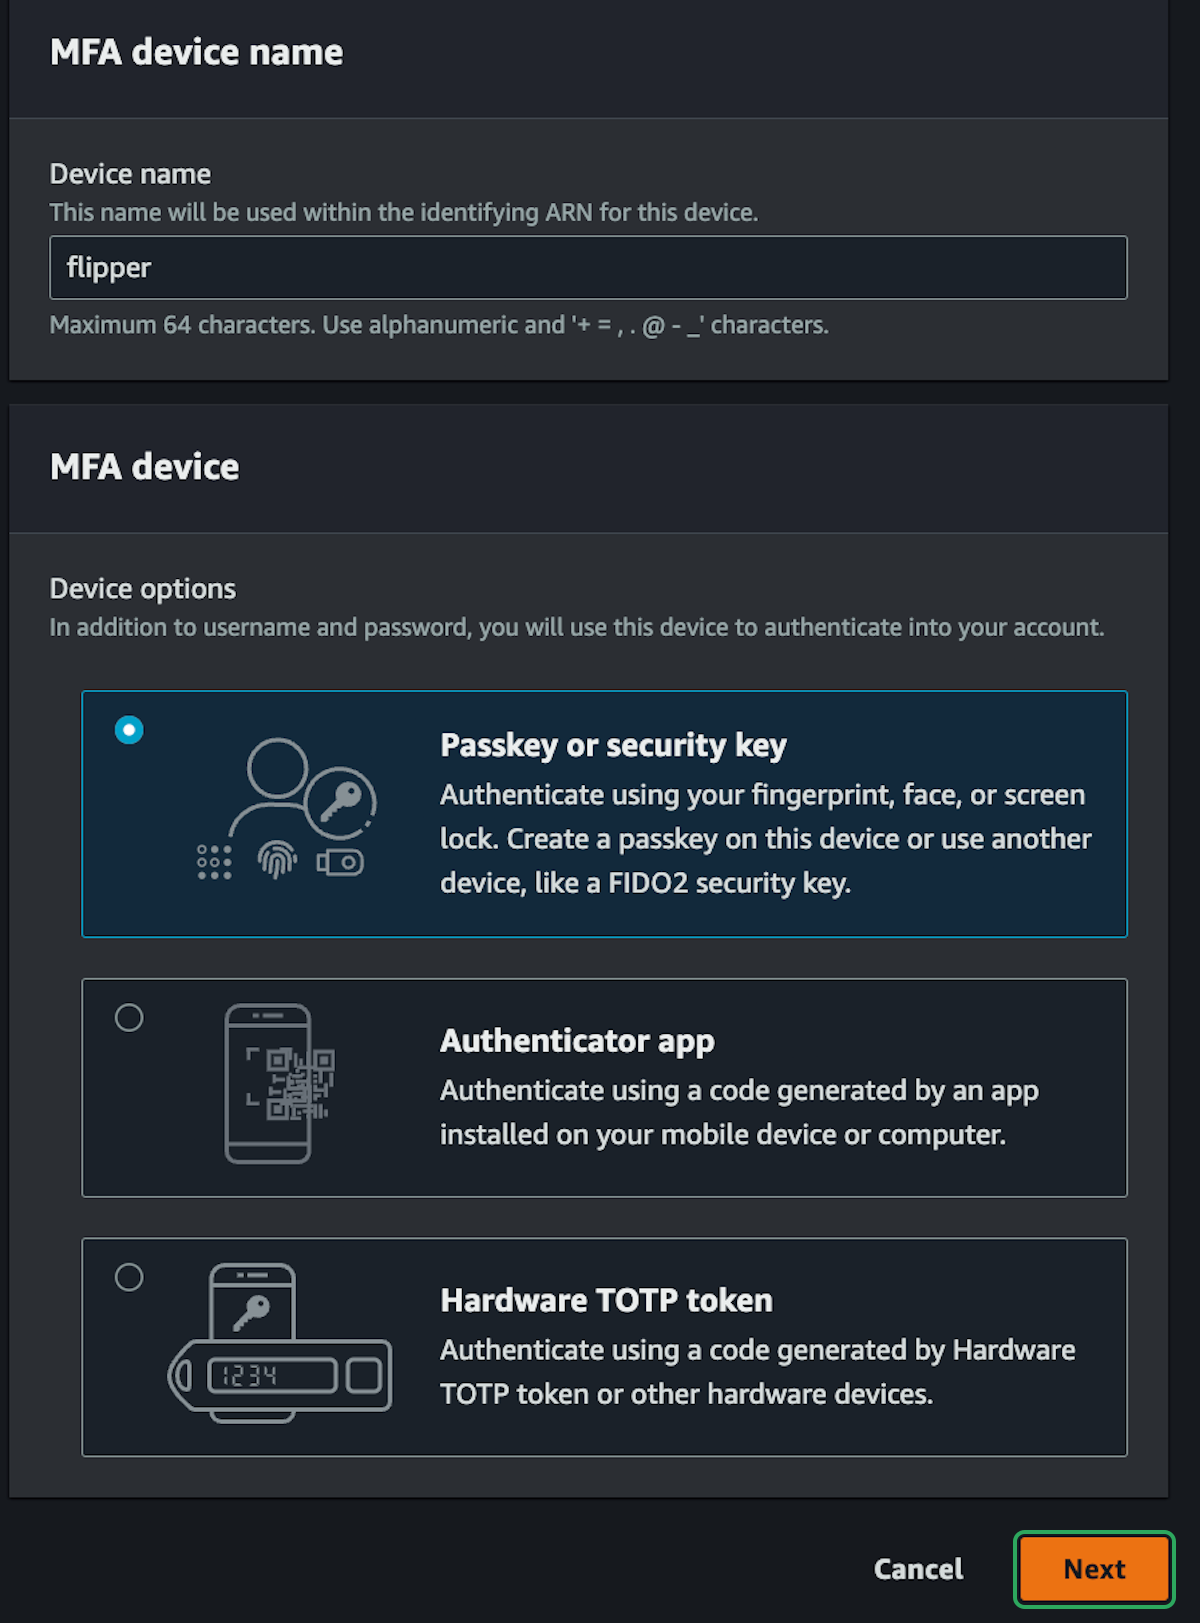
We will add other ways of logging in later that make things a little bit more secure, and we shouldn't ever have to use these root account details. Make sure your password is secure and make sure you add two factor authentication.

step 11:

Click on my-aws-account

Click on your account name dropdown
step 12:

Click on Security credentials

Click Security credentials from the dropdown
step 13:

Click on Assign MFA

Click Assign MFA device
step 14:

Add a multi factor authentication device

Configure your MFA device settings

Setting Up A Budget

It's inevitable that we will end up spending some amount of money in AWS. We will try to only use the free services, but there's nothing stopping us from accidentally setting up an expensive RDS instance and paying the price.

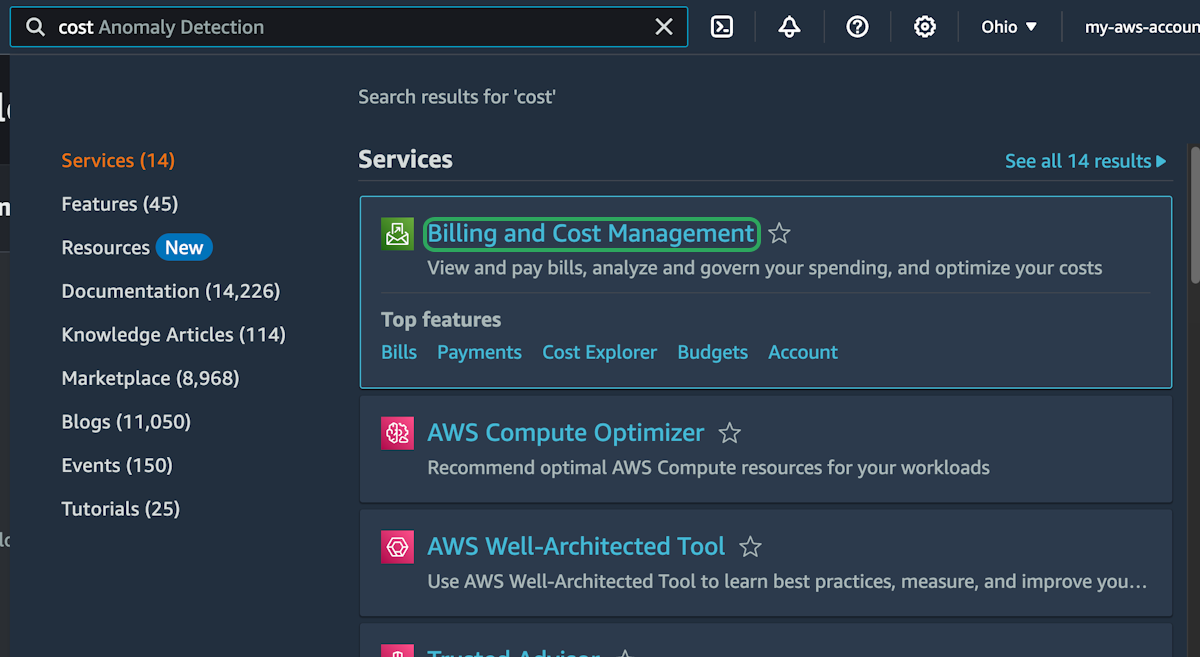
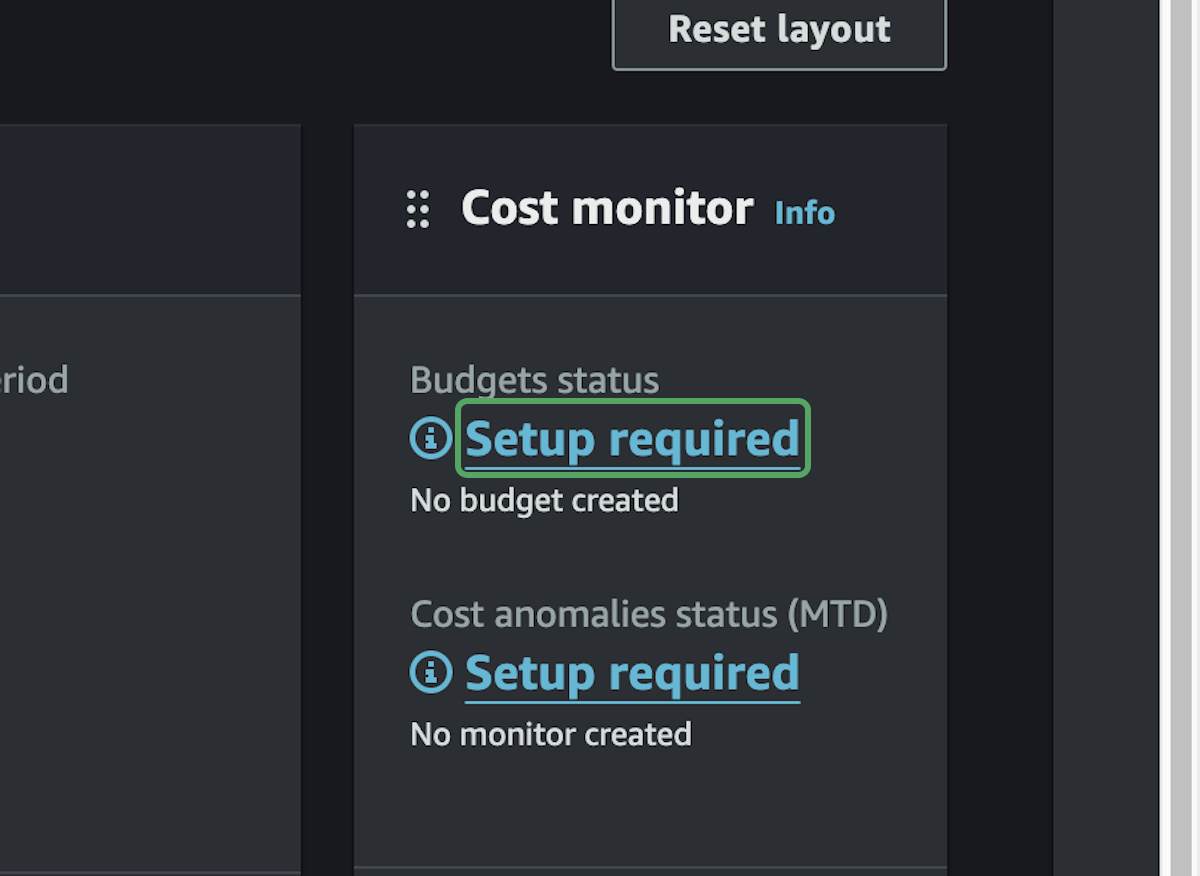
We can however, setup a budget alarm so that we get notified if we're spending more than we think we should.

step 15:

In the search bar, search for and select Billing and Cost Management

Search for and select Billing and Cost Management
step 16:

In the Cost Monitor section, select "Setup Required" under Budgets Status

Click on Budgets to set up cost monitoring

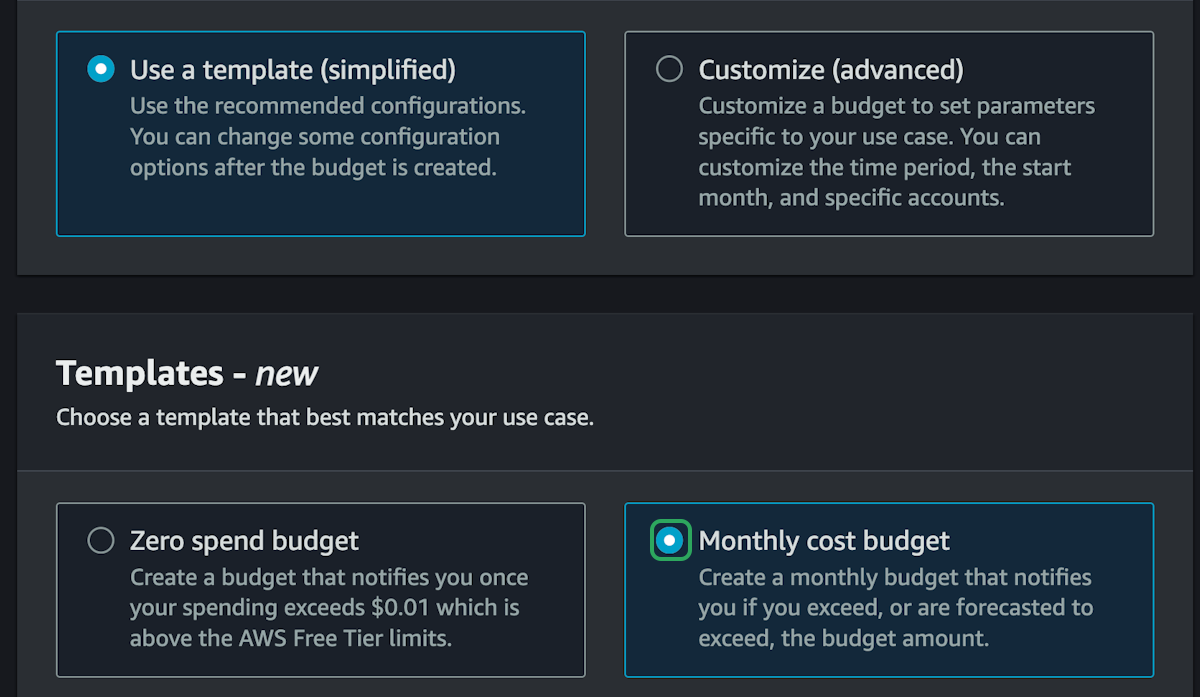
We are going to use a predefined template here. You could select "Zero spend budget" to be notified when any amount of money is spent on your account, but this isn't useful when we plan on spending a little bit of money.

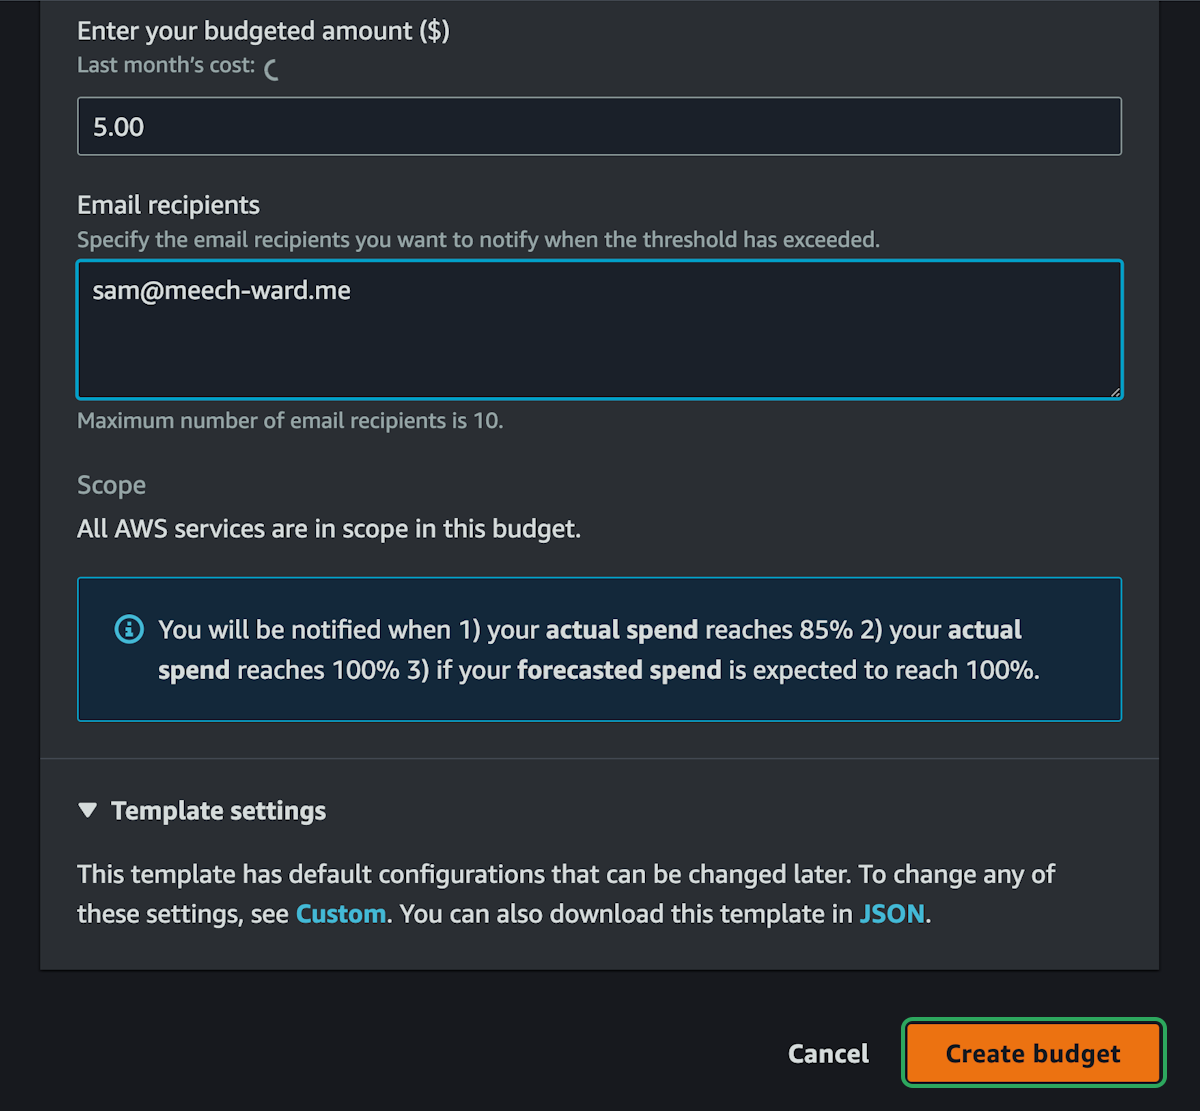
We will be using some paid services so we will setup a "Monthly cost budget". You can input any amount here and AWS will notify you before you spend that amount. $5 is reasonable in the beginning so that you can use a few paid services and experiment more, but also be notified before you spend $5.

step 17:

Select Monthly cost budget

Select Monthly cost budget template
step 18:

Set the amount to $5, add your email address, and create the budget

Set budget amount to $5 and add your email for alerts
Show timestamps
00:00
In this section we're gonna get everything set up for the rest of the course which means
00:03
creating a new AWS account, setting up the AWS CLI and even purchasing a domain name so that we
00:09
can work with DNS in the future So we're gonna start by going to AWS dot com And then we're
00:14
gonna click a button over here that should say sign into the console or create a new account And
00:19
right down here it says create a new AWS account because we're gonna start from scratch and
00:22
create a new account here So here we're setting up the root user of our entire AWS account So
00:28
we're gonna need an email address for that root user So I'm gonna use sam at cloud course dot
00:34
dev and you can use your personal email here or set up an entirely new email address just for your AWS account.
00:40
And then my account name is gonna be cloud course and I'm gonna verify that email address So
00:46
it's gonna send me an email here There we go So I can verify my email address There's the code
00:51
Don't tell anyone And now we're just gonna go through a basic account setup So make sure you
00:56
create a nice password here Remember that this is your root account So you really wanna lock
01:00
down this account as much as possible Have a good password and we're gonna enable two factor
01:04
auth in a moment This is just gonna be for personal use I'm gonna enter my name in here And then
01:10
this has to be a working phone number because you will end up getting a text from AWS for this
01:16
And then the rest of these details are just your own personal details and then make sure you
01:21
click I have read the agreement and Let's go to the next step And you do need a credit card in
01:27
order to register an AWS account and most of the stuff we'll do will try to stay within the free
01:32
tier There will be a few times you'll get a small charge You could do this whole course maybe
01:37
within five dollars or you could spend more if you really want to but you will need a credit
01:41
card here So enter your credit card details Then we can continue on to the next step where we
01:46
have to enter our phone number again so that AWS can confirm it's us Always seem to mess up
01:52
these weird text things Come on So input the code you were texted and then continue on to the
01:58
last step where we're just gonna go with the basic support We don't need to pay for anything
02:02
here So we're just gonna complete this sign process now So we're gonna go into the AWS
02:06
management console and this is the root account So we're rarely gonna actually log into this
02:11
account because we get to manage absolutely everything from this root account here but we are
02:16
gonna set up two factor auth by going into our account here at the top right and selecting security credentials.
02:22
So we're gonna lock this account down We're rarely ever gonna use it and we're gonna set up
02:26
different ways of logging in in different accounts in a little bit So we'll assign an MFA right
02:30
here You can use whichever one you want if you have an Authenticator probably the easiest I'm
02:34
gonna use a pass key I'm gonna use my flipper here and then go next And now that's been set up
02:40
No one will be able to log in to my account unless they have this piece of hardware on them So
02:44
that's the root account set up We're not gonna set up any infrastructure in here We're just
02:48
gonna use this account to set up other accounts that will actually play around with in the
02:51
future While we're in the Root account we should set up a budget alarm So I'm gonna head over to
02:56
the billing and cost management and like I said we are gonna end up spending a little bit of
03:02
money here not too much We're gonna try and stay within the free tier But we can set
03:05
up an alarm so we can go over here budget status set up required.
03:09
And this will notify us if we're spending more than we think we should spend It won't turn off
03:14
Our spending will start to come in here and terminate any infrastructure we have running at
03:18
least we'll get an email notification if we start spending way more than we actually expect to
03:21
So we're in this budget setup We're gonna use the template which is simple We're not gonna do a
03:26
zero spend budget because we will have to spend just a little bit of money in the accounts We're
03:30
gonna do a monthly cost budget We can leave all of these the same but I think we should drop
03:36
this number from one hundred to five bucks I really don't think you should need to spend this
03:41
amount per month But just in case we hit some limits we have too many EC two instances running
03:46
you for gets to terminate them This will at least notify you sooner rather than later And then
03:50
in here I'm just gonna put in my email address so sam at cloud call dot dev And then I'm gonna
03:55
create this budget And you can create multiple budgets if you want I just think this is good
03:59
because at least we'll get a notification if we're starting to spend a little bit more money than we expect